The school year is upon us, and with it comes a torrent of … stuff. Bags, lunchboxes, drink bottles, library bags, uniforms, shoes, socks, hats, books, pencil cases, sports equipment, umbrellas, jackets, homework sheets, notes (oh, the notes!) — it all can quickly take over the house if we’re not strategic about it.
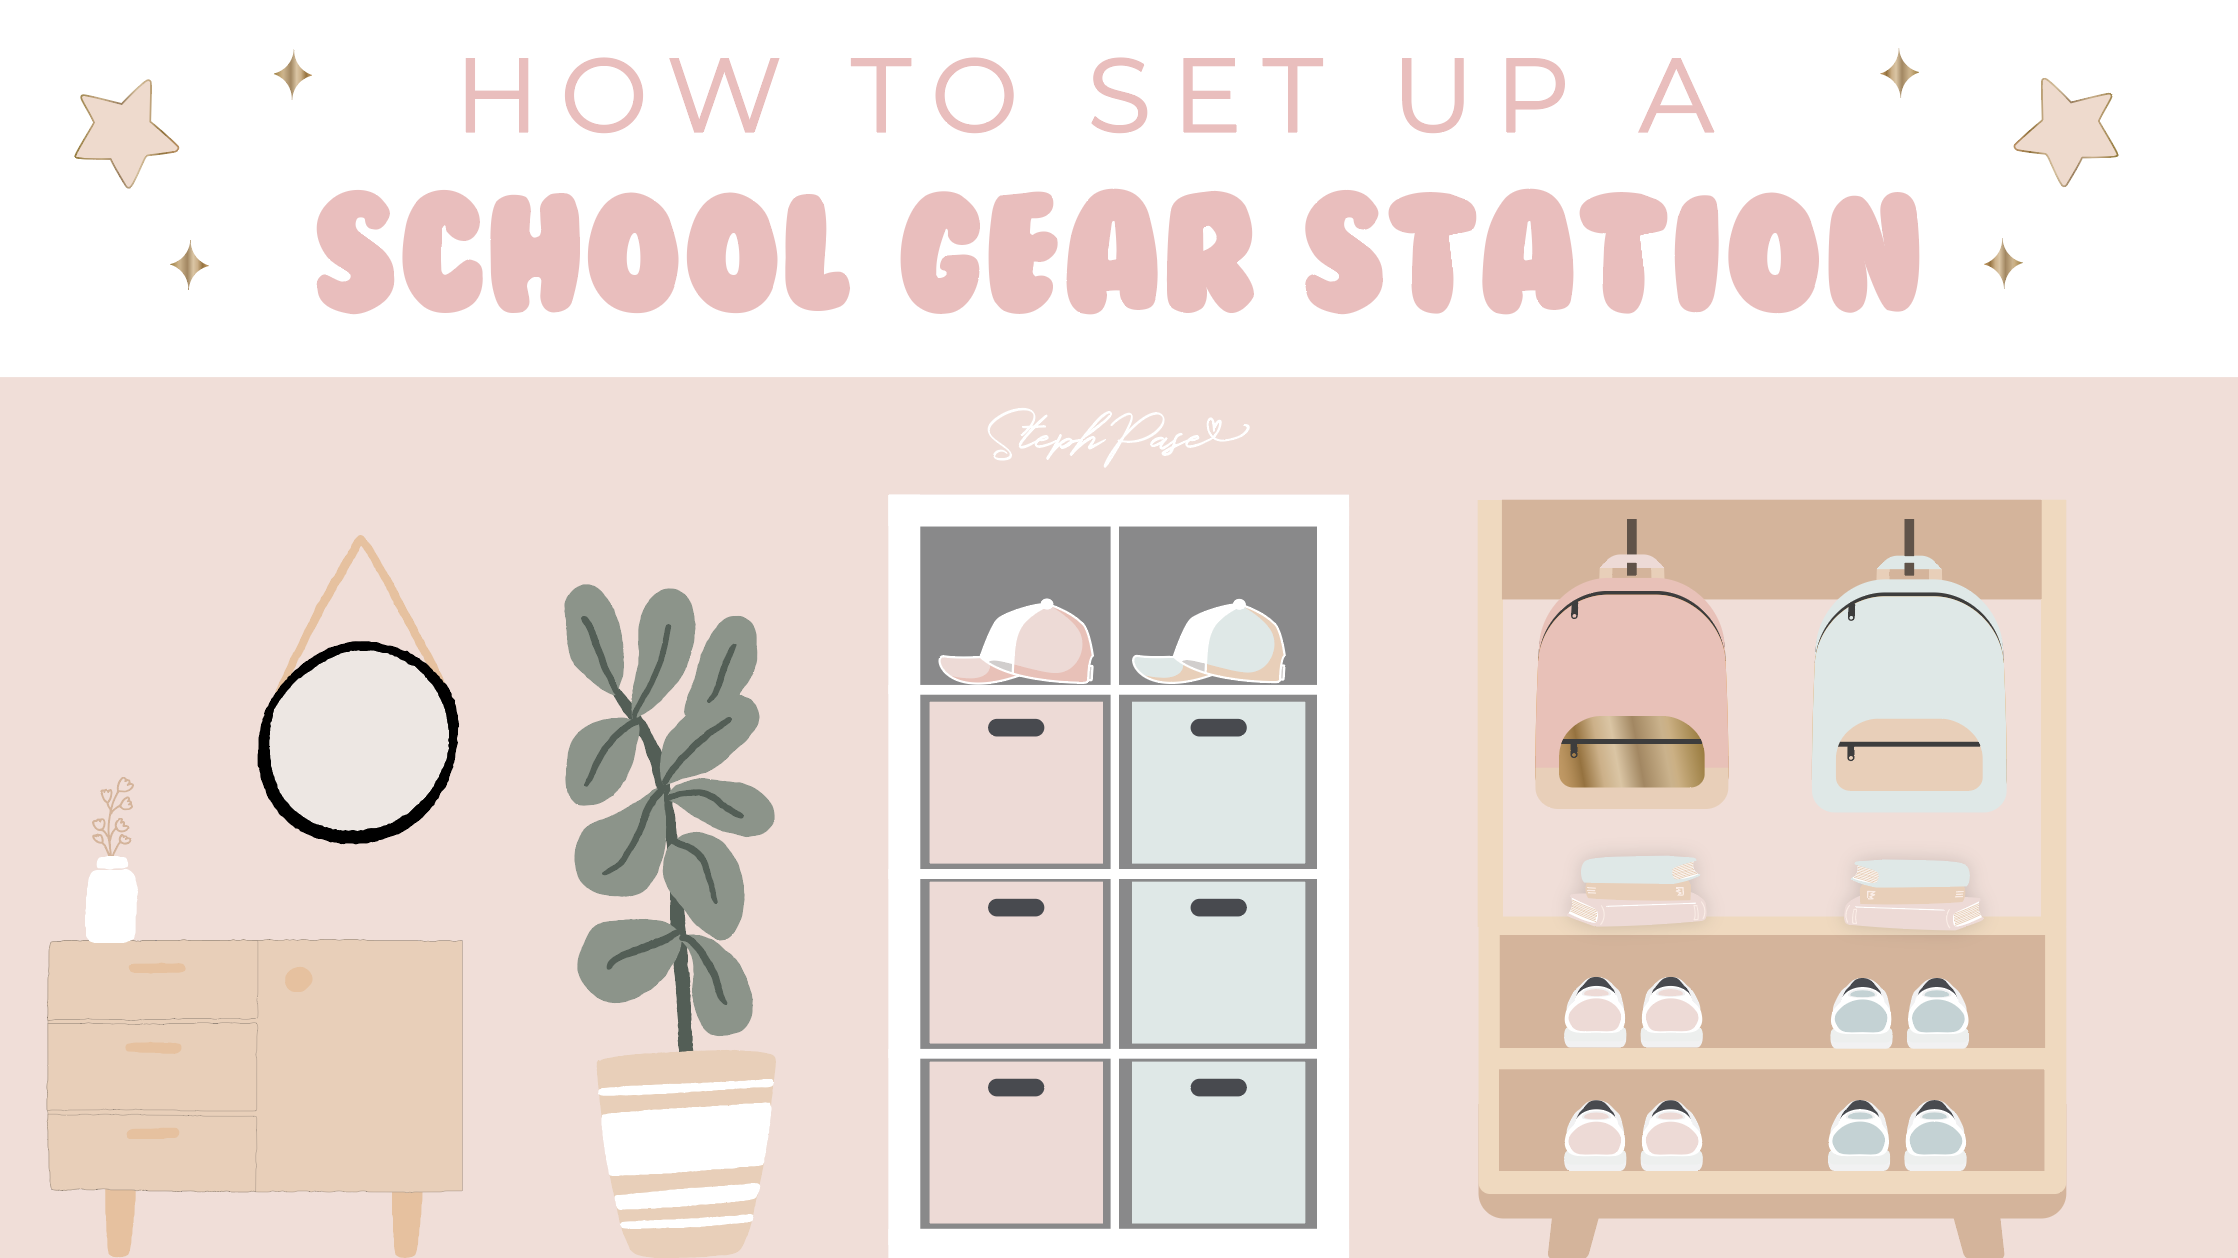
Enter: the school gear station.
Having a dedicated space in your home for all the school stuff not only cuts down on visual clutter and mess, it reduces the occurrence of that infernal phrase we all hear on the daily: “Mum, where’s my…?”
Plus, most kids are not naturally inclined towards tidiness, so anywhere we can help them out in that regard is a big win for me! If they know where everything goes, and the expectations around how to use it (e.g. bag away as soon as you get home, take lunchbox and drink bottle to the kitchen, shoes away, dirty socks to the laundry, notes in the file holder, etc.), the before and after-school period is much calmer and more pleasant for everyone.
Here’s how to do it:
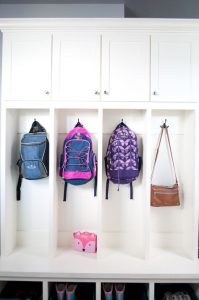
- Find a suitable area in your home: I’d say most of us don’t have enormous, closed-off mudrooms at our entryway (and if you do, I’m so jealous!), so here is where you need to get creative. An unused cupboard (or shelf within a cupboard), empty wall space close to the front door or garage, a vacant spot in their bedroom – how you do this will be completely individual to your home. But in general, the closer it is to the point of entry/exit, the less chance things will get discarded throughout the home.
- Take inventory: What does your station need to store? Make a list to ensure there is a place for everything. You can also use it to store gear for after-school activities: swimming, sport, dance, etc.
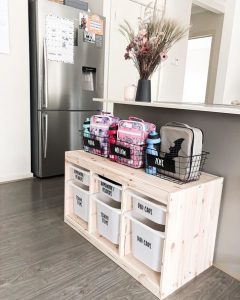
- Go storage shopping: If you’re creating it from scratch, consider your base first. You could try:
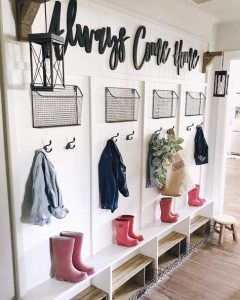
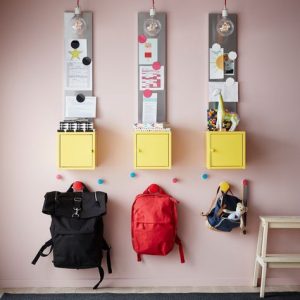
- A bench seat with baskets beneath and wall hooks above
- Stackable shoe racks with wall hooks above
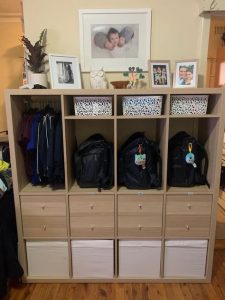
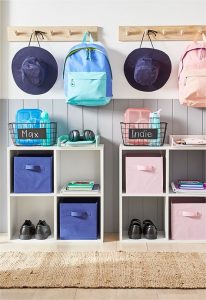
- Cube shelves
- Standalone lockers
- Large storage baskets
- Wheeled drawer units
- Freestanding storage unit.
Tip: Don’t forget to utilise the inner and outer sides of shelves, lockers and storage units, or the wall space surrounding your station. This is valuable real estate!
If you’re using space within an existing cupboard, stock up on stackable drawers or tubs, file trays, magazine holders – whatever suits the configuration of your space.
Then consider the small items to use within your stations: 3M wall hooks, wall-mounted organisers, file holders, trays, magazine holders, baskets, tubs and crates, memo boards, magnets and clips, etc. This doesn’t need to cost a bomb – Kmart, IKEA and Bunnings all have amazing, inexpensive options.
Tip: Use picture hanging strips on the back of your SPP Weekly or Monthly Planner Pad to attach it to the wall or sides of your station. Write down the kids’ schedule and never forget library day or sports day on your way out the door again!
4. Label it: My favourite bit! Keep each child’s gear separate and clearly marked, and if you’re nuts about labelling like me, go to town on labelling each section.
5. Set it up: Once everything is in place, stock it with their gear and give the kids a rundown on where everything goes. Marvel at how much easier life is when you aren’t tripping over errant school shoes or frantically searching for lost permission slips!


Images all sourced from Pinterest – School Bag Station Inspo
For weekly tips & freebies make sure you’re in my FB community and Steph Pase Planners Communtiy!
- 2Shares
Related Posts